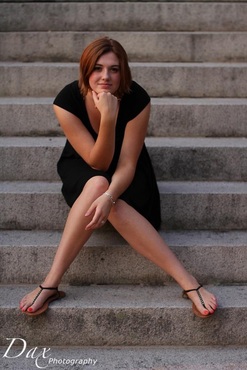
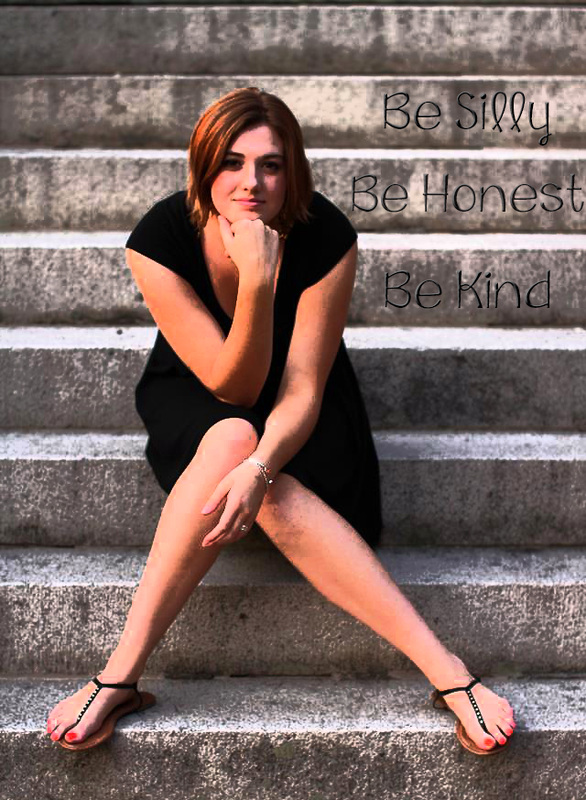
| I recently went through the intense, yet awesome experience of getting senior photos taken! I was super duper nervous, but Dax Photography did an incredible job putting me at ease, and taking some wonderful shots! Of course he edited them to perfection, but I just like Photoshop, so I decided to mess with one. Here's the before and after images. I cropped it up a bit, added a film grain filter and added the text. I wanted the effect of the words being etched into the stairs so I added a bevel and some lighting effects. I love how the film grain brought out the texture of the stone and the highlights in my hair. The overall look is less senior picturesque and more artsy, but that's just fine with |
0 Comments
Take a couple minutes and check out my most recent labor of love! We needed a recruitment video for my speech and debate team, and this came out of it! My video buddy, Ryan, taught me the basics and helped me to come up with this!
Look up! Now, look back down. Look up again! See that fancy little logo by the title? Yup...I made that. I've outlined my recent struggle with Illustrator below, just in case you care!
Considering I'm branding myself as a "dorky designer" I figured my logo better have geek glasses...and some sort of design element. Hence my Macbook Pro, Comet. Yes, I named my laptop Comet. Get over it. The only left was to add a bit of flair to the computer nerd logo. And that explains the sheet of paper which contains the 1st chapter of Pride and Prejudice. Yay early feminism! So after I though up all of these great ideas, I had to make it happen. Yipee. Comet (Macbook) In Illustrator, I created a gray rounded rectangle. then to create the Apple logo, I jacked an image off the internet and traced it with the pen tool. (Making sure to have small flaws, so i wasn't copying it completely.) I added a second, darker gray, rounded rectangle for dimension and presto! Comet came to life! Paper This element was pretty darn simple to create, even in Illustrator. I created a white rectangle with another darker rectangle behind it (my way of faking a drop shadow because I'm lazy.) Add a super small text box with Brush Script font and boom! Done. Glasses Now we meet the little twerp of the logo bunch. After TONS of trial and error, I finally managed a pretty decent result. I started by trying an Illustrator Live Trace on an image, but that didn't give me the transparent lenses. And then it begun...Transparency Hell. After many frustrating attempts in both Photoshop and Illustrator, I finally hit lens gold! I pulled an image into Illustrator of folded glasses. Then, I used my trusty pen tool to create two paths for the lenses. I filled these paths with a gradient of light blue, to white, to light blue. I set it at about 50% transparency so it actually looked like glass. Then came the moment of truth. I applied live trace and PRESTO! (finally. To add it to the logo, I pulled it into Photoshop and saved as a PNG, and Dorky Designer logo was created. |
 RSS Feed